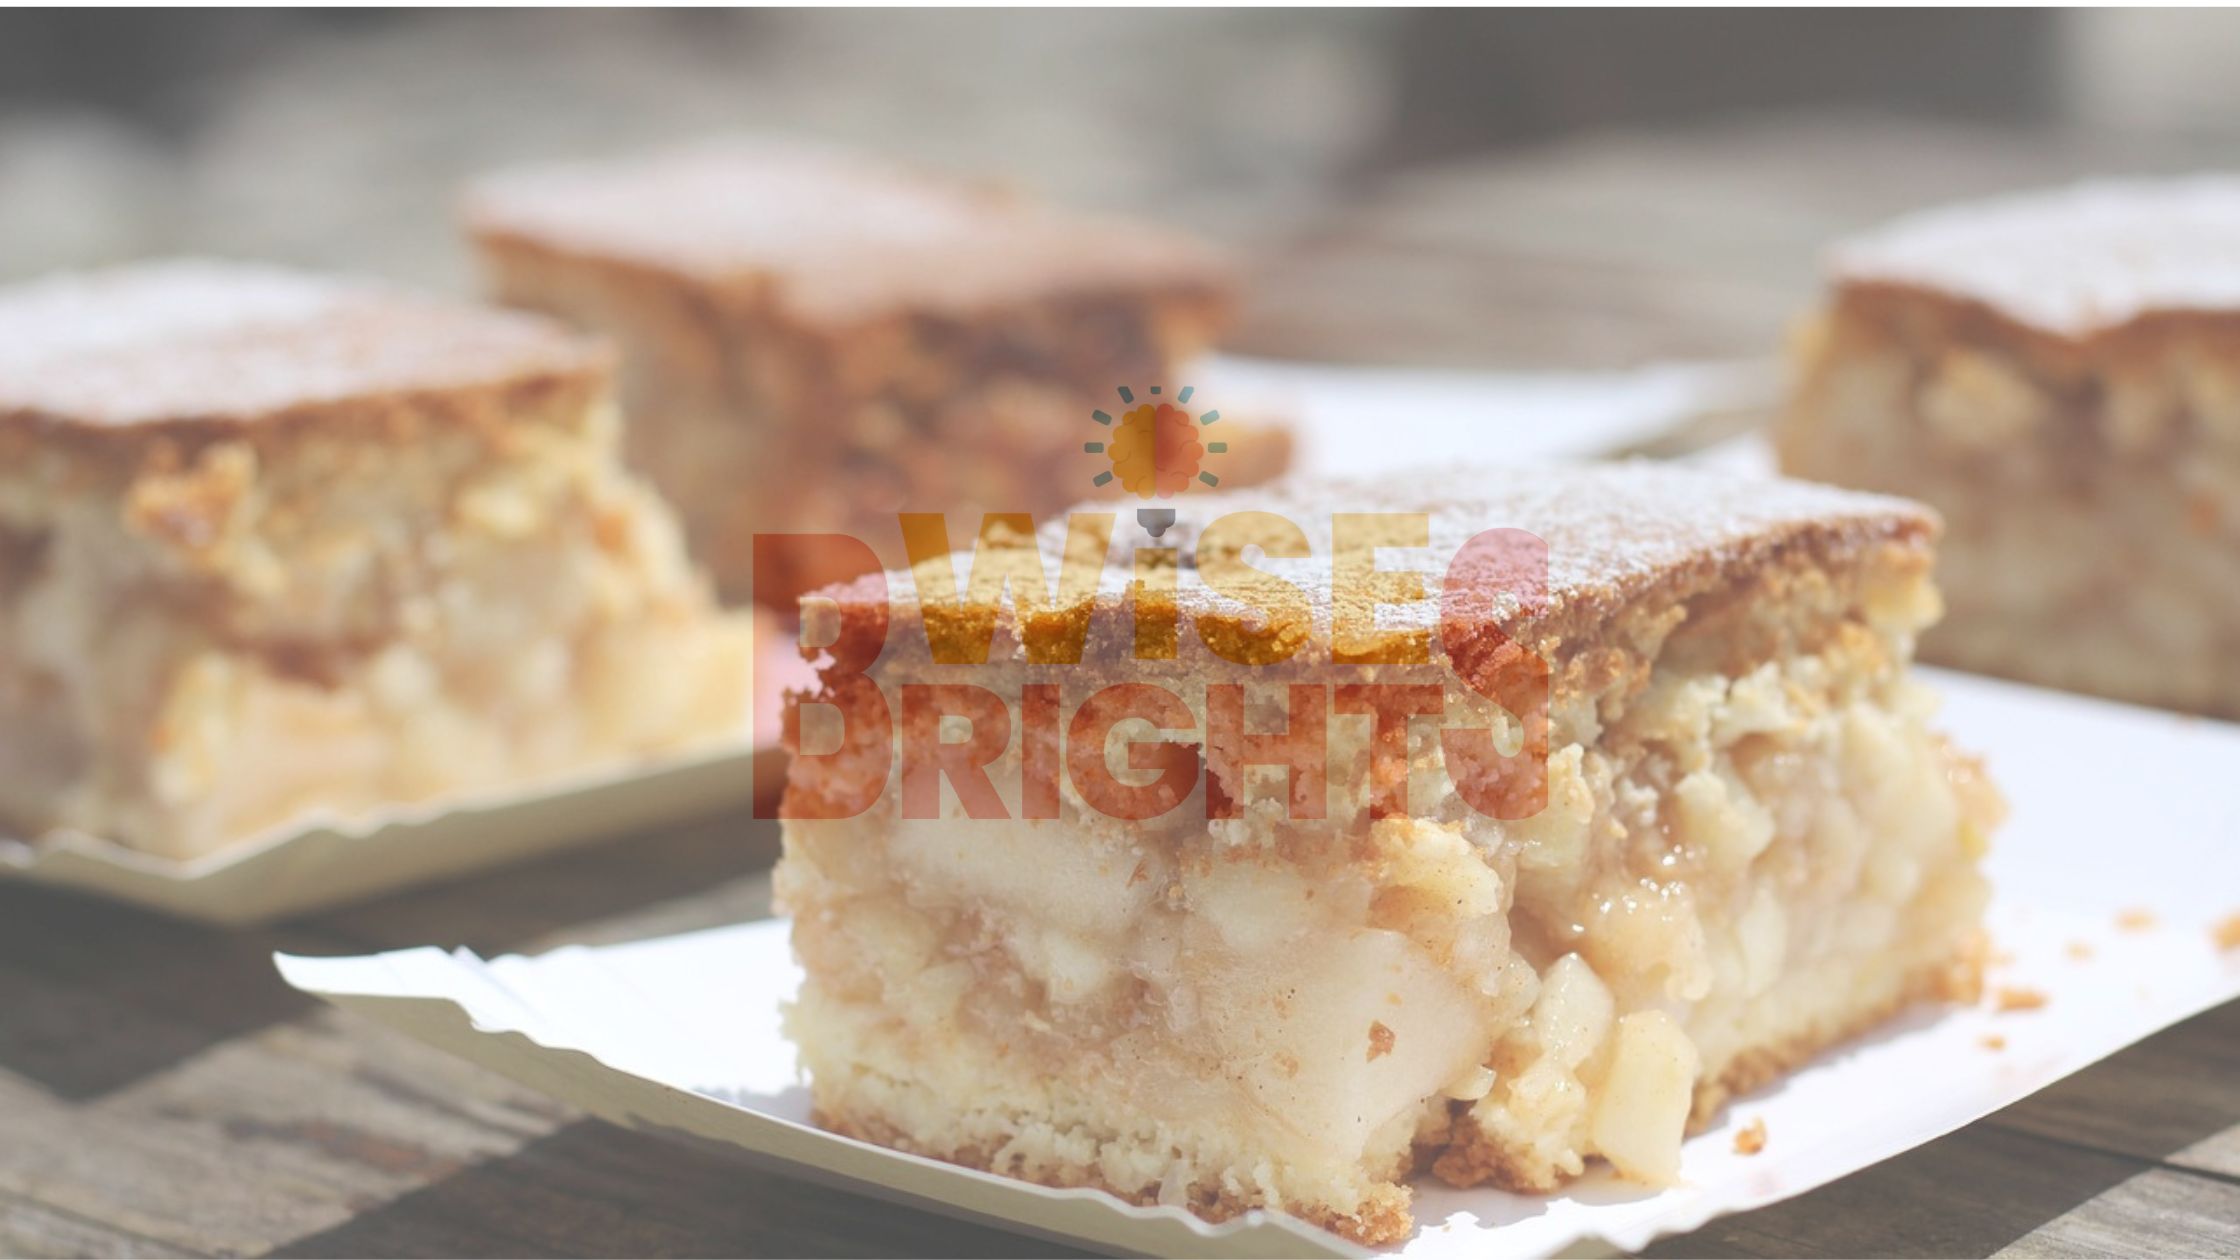
Apple pie holds a special place in American hearts and kitchens. This beloved dessert has been gracing dinner tables since colonial times, earning its reputation as the quintessential comfort food. There’s something magical about the combination of tender, spiced apples nestled in a flaky, golden crust that brings families together and creates lasting memories.
What separates an exceptional apple pie from an ordinary one? The secret lies in mastering three key elements: a perfectly flaky crust that doesn’t get soggy, a filling with the right balance of sweet and tart flavors, and apples that maintain their texture without turning to mush. When these components come together harmoniously, the result is a pie that’s worth every bit of effort.
This comprehensive guide will walk readers through every step of creating an apple pie that rivals those made by grandmothers who’ve been perfecting their recipes for decades. For those seeking additional inspiration and variations, this detailed apple pie recipe collection offers even more options to explore. From selecting the right apples to achieving that coveted golden-brown crust, every detail matters in the pursuit of pie perfection.
Essential Ingredients for Success
The Foundation: Pie Crust Components
Creating an outstanding apple pie starts with gathering quality ingredients. For the crust, bakers need all-purpose flour, cold unsalted butter, salt, ice water, and a touch of sugar. The butter should be genuinely cold – straight from the refrigerator works best. Many experienced bakers swear by cutting their butter into cubes and chilling them in the freezer for 15 minutes before use.
The Star: Apple Filling Ingredients
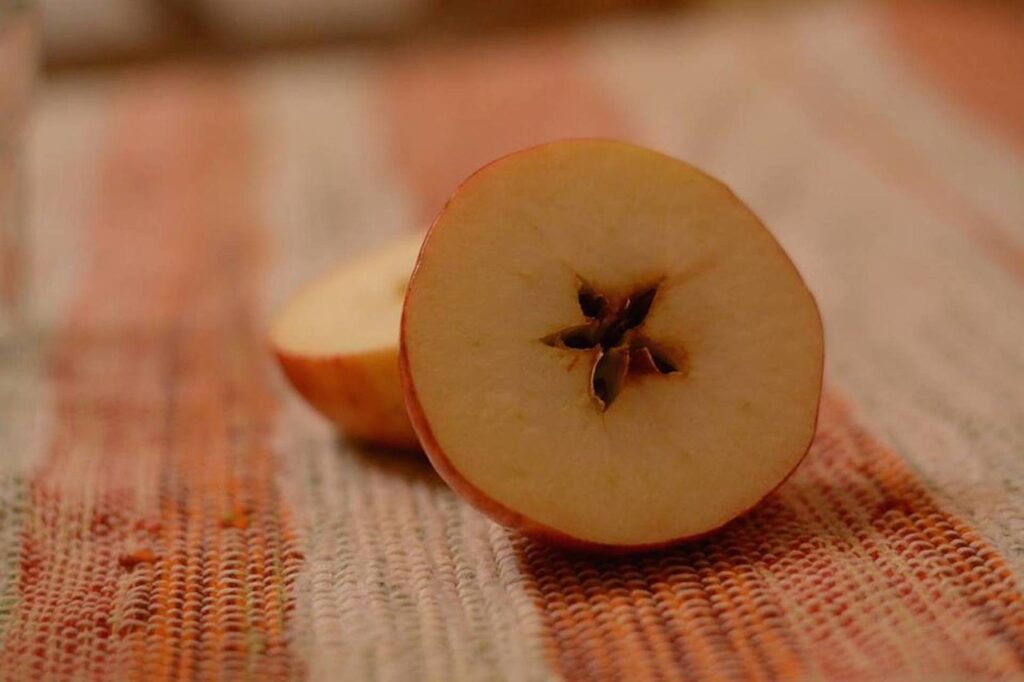
The filling requires careful selection of apple varieties. Granny Smith apples are a popular choice for their tartness and ability to hold their shape during baking. However, combining different varieties creates complexity – mixing Granny Smiths with Honeycrisp or Braeburn apples adds layers of flavor and texture.
Beyond the apples, the filling needs granulated sugar (adjust quantity based on apple sweetness), ground cinnamon, a pinch of nutmeg, and perhaps a dash of allspice. A thickening agent prevents the dreaded soggy bottom – options include all-purpose flour, cornstarch, or instant tapioca. Fresh lemon juice brightens the flavors and prevents browning, while small pats of butter add richness.
Equipment That Makes the Difference
While apple pie doesn’t require fancy gadgets, having the right tools simplifies the process significantly. A reliable rolling pin helps achieve even crust thickness, and a 9-inch pie dish (glass or ceramic works wonderfully) ensures proper baking. A pastry cutter makes incorporating butter easier, though two knives or even clean hands can substitute.
Food processors can speed up crust-making for those who prefer efficiency over tradition. A pastry brush helps with egg washes, and pie weights or dried beans are invaluable for blind-baking when needed.
Mastering the Perfect Pie Crust
Temperature Control is Key
The secret to flaky crust lies in temperature management. Cold butter creates steam pockets as it melts during baking, resulting in those coveted flaky layers. Ice water should be added gradually – just enough to bring the dough together without making it sticky.
Gentle Handling Technique
Overworking the dough develops gluten, leading to a tough crust. Mix ingredients just until they come together, then wrap the dough in plastic wrap and refrigerate for at least one hour. This rest period allows the flour to hydrate and the gluten to relax.

When rolling, work from the center outward, rotating the dough frequently to maintain a circular shape. The rolled dough should be about 1/8-inch thick and large enough to drape over the pie dish with some overhang.
Preparing the Apple Filling
Apple Preparation Techniques
Proper apple preparation sets the stage for success. Peel apples completely, remove cores, and slice them into uniform pieces – about 1/4-inch thick works well. Uniform sizing ensures even cooking throughout the pie.
Creating Flavor Balance
Toss the prepared apples with sugar, spices, and thickening agent in a large bowl. Let this mixture sit for 15-20 minutes, allowing the apples to release some moisture and the flavors to meld. This brief maceration period helps predict how juicy the final filling will be.

The amount of sugar needed varies depending on apple sweetness and personal preference. Start conservatively – it’s easier to add sweetness than to remove it. A squeeze of lemon juice enhances the apple flavor while adding a subtle brightness that prevents the filling from tasting flat.
Assembly and Baking Excellence
Building the Perfect Pie
Line the pie dish with the bottom crust, ensuring no air bubbles are trapped underneath. Trim excess dough, leaving about a 1-inch overhang. Fill with the prepared apple mixture, mounding it slightly in the center since the apples will cook down.
For the top crust, bakers can choose between a full crust with steam vents, an intricate lattice pattern, or even a rustic crumb topping. Regardless of the choice, sealing the edges properly prevents filling from bubbling out during baking.
Baking for Golden Perfection
Start the pie in a preheated 425°F oven for the first 15 minutes to set the crust, then reduce to 350°F for the remainder of baking time. Total baking time typically ranges from 45-60 minutes, depending on apple variety and thickness.

The pie is done when the crust is golden brown and the filling bubbles vigorously through the vents. If the edges brown too quickly, cover them with strips of aluminum foil or a pie crust shield.
Troubleshooting Common Challenges
Even experienced bakers encounter occasional setbacks. A soggy bottom crust often results from overly juicy filling or insufficient pre-baking. Using a thickening agent and ensuring the oven is properly preheated helps prevent this issue.
Cracks in the top crust usually indicate the dough was too dry or rolled too thin. Small tears can be patched with dough scraps and a bit of water. For future pies, ensure adequate moisture in the dough and avoid excessive rolling.
Serving and Storage Wisdom
Patience proves crucial after baking – allow the pie to cool for at least two hours before slicing. This cooling period lets the filling set properly, preventing a runny mess when serving. Room temperature or slightly warm pie showcases the flavors best.
Leftover pie can be stored covered at room temperature for two days or refrigerated for up to a week. Gentle reheating in a 300°F oven for 10-15 minutes refreshes the crust beautifully.
Creative Variations to Explore
Once the basic technique is mastered, experimentation becomes exciting. Different apple combinations create unique flavor profiles – try mixing sweet Gala apples with tart Northern Spy varieties. For more creative ideas and seasonal variations, this comprehensive apple pie recipe resource provides endless inspiration. Spice blends can be adjusted too – a touch of cardamom or ginger adds sophisticated warmth.
For those seeking alternatives to traditional pastry, consider a graham cracker crust or even a streusel topping instead of a top crust. These variations offer different textures while maintaining the classic apple pie essence.
The Sweet Conclusion
Creating the perfect apple pie requires attention to detail, but the process shouldn’t intimidate home bakers. Each attempt builds skills and confidence, leading to increasingly better results. The key lies in understanding how ingredients interact and being patient with the process. According to Wikipedia, this beloved dessert has evolved through centuries of culinary tradition, making it a truly timeless classic that continues to bring families together.
Remember that even imperfect pies bring joy to those who share them. The aroma alone creates anticipation, and the first bite of homemade apple pie, with its flaky crust giving way to tender, spiced apples, makes every effort worthwhile. With practice and patience, anyone can master this beloved American classic and create their own cherished family traditions.